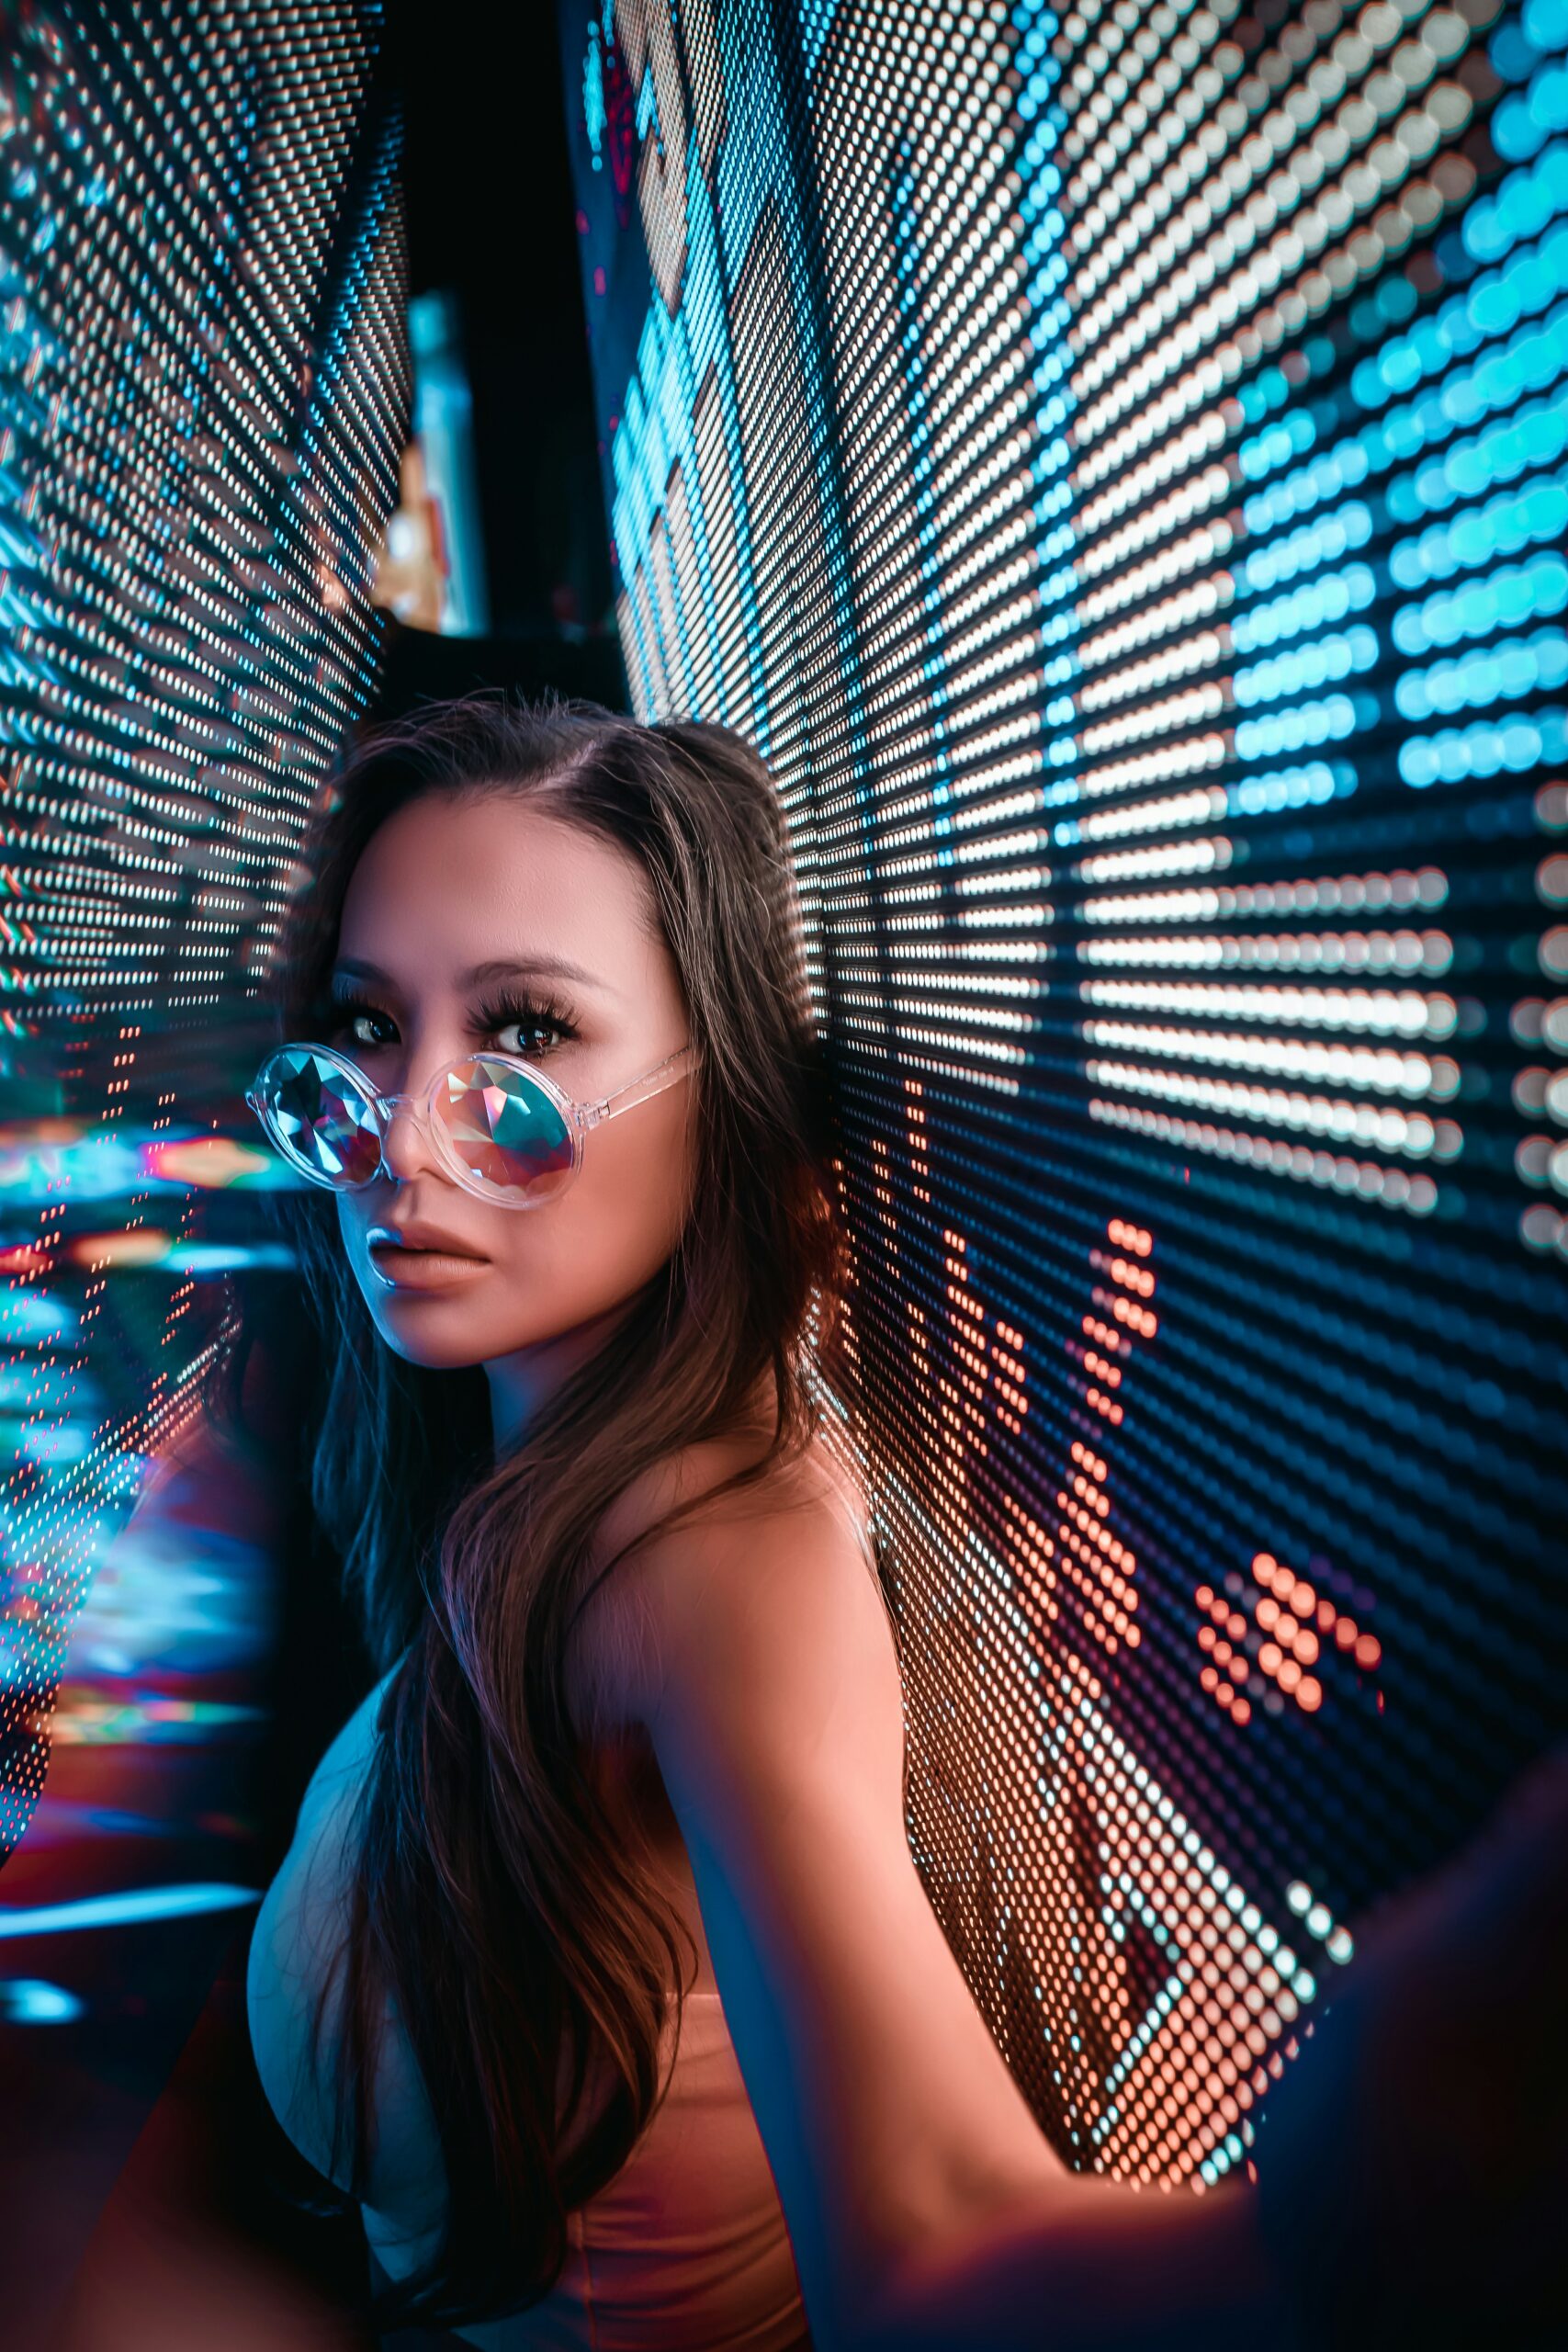
Feeling awkward when a camera points your way is completely normal. Learning how to pose for photos turns self-consciousness into natural confidence. You do not need professional modeling experience to look photogenic.
A few deliberate positioning tweaks can instantly improve your image presence. Incorporating these simple photography techniques ensures you look polished and relaxed in every shot.
Posture and Positioning Quick-Reference
Small posture changes make a massive visual difference on camera. This chart highlights easy adjustments that instantly elevate your look:
| Common Posing Habit | Flattering Adjustment | Visual Effect |
| Facing camera straight-on | Turning shoulders 45 degrees | Creates depth and slims silhouette |
| Locking arms and legs straight | Adding gentle bends to elbows/knees | Adds fluidity and dynamic energy |
| Dropping chin downward | Elongating neck and pushing chin out | Prevents double chins and defines jaw |
| Stiff, tense shoulders | Exhaling and dropping shoulders low | Delivers an approachable, relaxed vibe |
Body Angles and Posture Hacks
1. Find Your Best Angle
Experiment by tilting your head and turning your body slightly. Most people have a favored side that catches light best.
2. Keep Your Chin Up
Avoid dropping your chin directly toward your chest. Push your chin slightly forward and up to elongate your neck.
3. Relax Your Shoulders
Tense shoulders make portraits look stiff and forced. Take a deep breath and drop your shoulders back before the shutter clicks.
4. Bend Your Limbs
Straight arms and legs can appear rigid in pictures. Create gentle bends in your elbows and knees for natural movement.
5. Shift Your Weight
Shift your body weight onto your back leg. This simple balance shift creates an organic S-curve contour.
6. Cross Your Legs
Crossing your legs at the ankles lengthens your leg line. It adds an elegant touch whether standing or seated.
7. Lean Gently Toward the Camera
Leaning forward slightly builds an engaging connection with viewers. It highlights facial features while slimming lower body proportions.
Step-by-Step Posing Routine
Follow this quick sequence before every photo to ensure you look balanced and relaxed:
Angle your hips 45 degrees away from the lens. Shift your physical weight onto your back foot to create natural body lines.
Bend your elbows slightly away from your sides. Place one hand on a hip or hold a prop to keep hands active.
Push your forehead slightly forward and elongate your neck. Keep your chin level to define your jawline cleanly.
Exhale through your mouth to drop shoulder tension. Soften your jaw, smile with your eyes, and look right into the lens.
Facial Expressions and Head Positioning
8. Focus Emotion in Your Eyes
Look directly into the camera lens with intentional focus. Expressing gentle emotion through your eyes makes portraits captivating.
9. Slightly Part Your Lips
Forced smiles often look tense around the jaw. Relax your mouth and part your lips slightly for an approachable expression.
10. Relax Your Facial Muscles
Avoid clenching your jaw or tensing your brow. Think of something genuine that brings real warmth to your face.
11. Practice with Mirrors
Use a mirror to test facial angles before your photoshoot. Practicing helps you memorize how great poses feel physically.
Creative Props and Framing Techniques
12. Incorporate Handheld Props
Holding a coffee cup, hat, or bag eliminates awkward hand placement. Props give your hands a clear purpose.
13. Play with Your Hair
Run your fingers through your hair or toss it over one shoulder. Hair movement adds texture and spontaneous energy.
14. Utilize Negative Space
Leave empty space around yourself within the camera frame. Clean backgrounds draw direct focus to your central pose.
15. Create Visual Symmetry
Balance hand placement across your body to establish visual harmony. Balance one raised hand with a settled hand on your hip.
16. Vary Your Height
Try sitting, kneeling, or leaning against structures. Changing levels builds fresh perspective in portrait sets.
17. Embrace Soft Natural Light
Seek out diffused window light or open shade. Soft lighting flatters skin texture and complements gentle facial poses. Paired with subtle photo editing, natural light makes images pop.
18. Build Your Signature Pose
Develop a default go-to pose where you feel most confident. Having a reliable baseline posture removes photo anxiety quickly.
19. Create Depth with Angles
Angle your hips away from the lens instead of standing flat. Angled stances add three-dimensional depth across the frame.
20. Have Fun and Stay Motion-Focused
The best pictures happen when you enjoy the process. Movement and laughter naturally yield authentic candid captures.
Final Thoughts
Mastering how to pose for photos is a skill that improves with quick practice. Focus on relaxing your shoulders, creating gentle limb bends, and keeping movement natural. Apply these simple hacks during your next photoshoot to create standout images effortlessly!